Geobodies can be created and used in the GVERSE Geophysics 3D module, specially for identifying geological features. With this functionality, you have the flexibility to choose multiple geobodies and seamlessly combine them into one. Notably, the original geobody remains unchanged, while the merged geobody can be saved as a new geobody. Here’s how you can merge geobodies in your seismic interpretation:
- Open GVERSE Geophysics and load a seismic interpretation or create a new one.

- Open the 3D seismic interpretation window and either create a new interpretation or open an existing one.

- Open the geobodies on the 3D interpretation or create new geobodies. To create a new geobody, go to the Geobodies tab, click Create New, and provide a name for the new geobody.

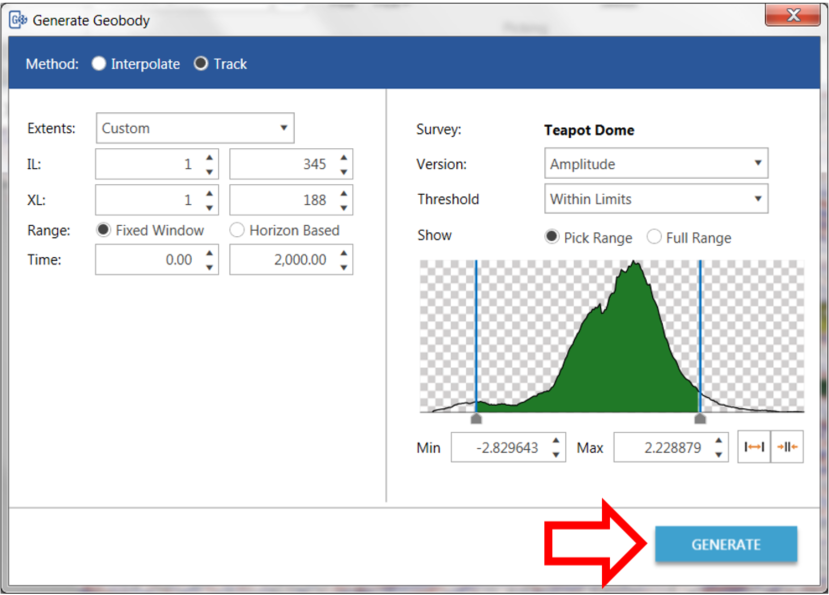
- Select a geobody in the interpretation and choose geobody extensions, survey, etc. Then click Generate.

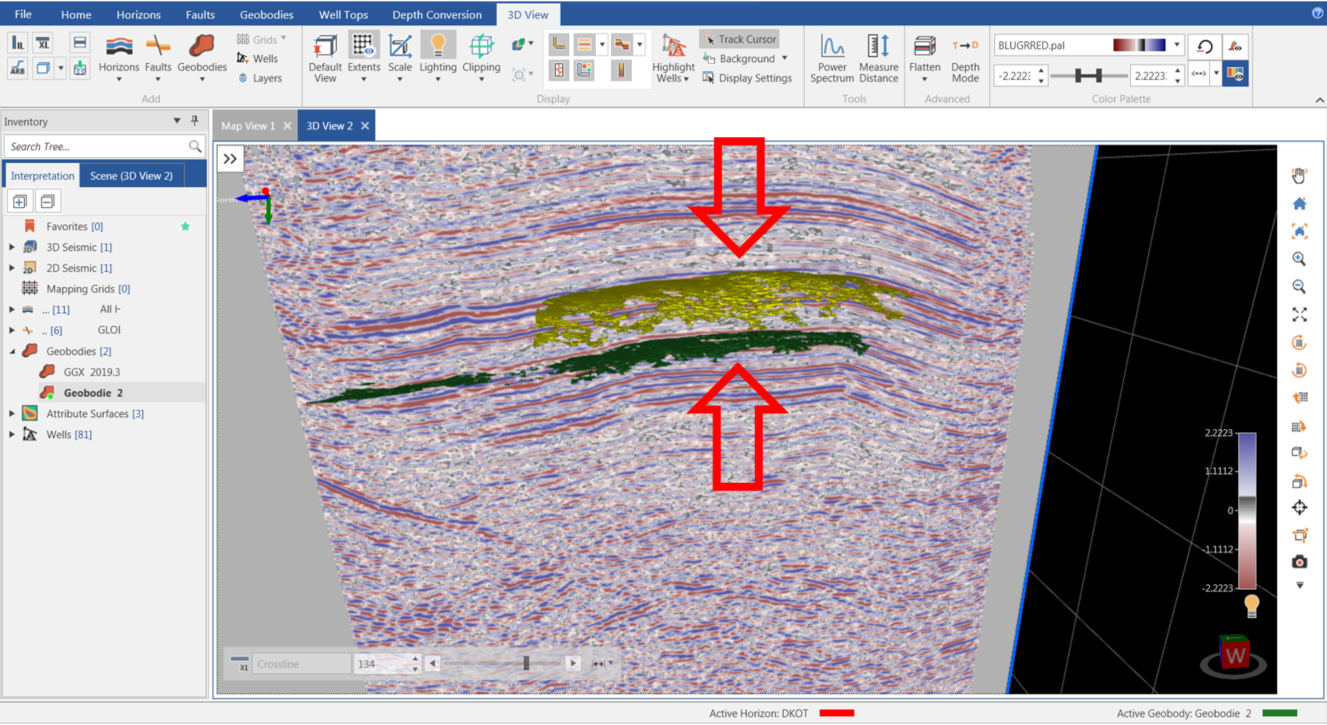
- The geobodies will be displayed in the interpretation.
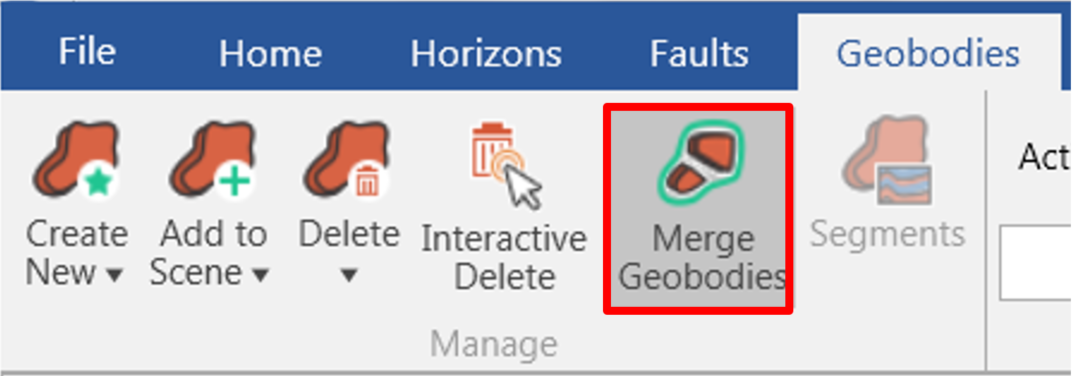
- Go to the Geobodies tab and click Merge Geobodies.
- In the interpretation, click to select the geobodies to be merged.
- The selected geobodies will display a blue outline.
- Right-click on any of the selected geobodies, and a second menu will appear.
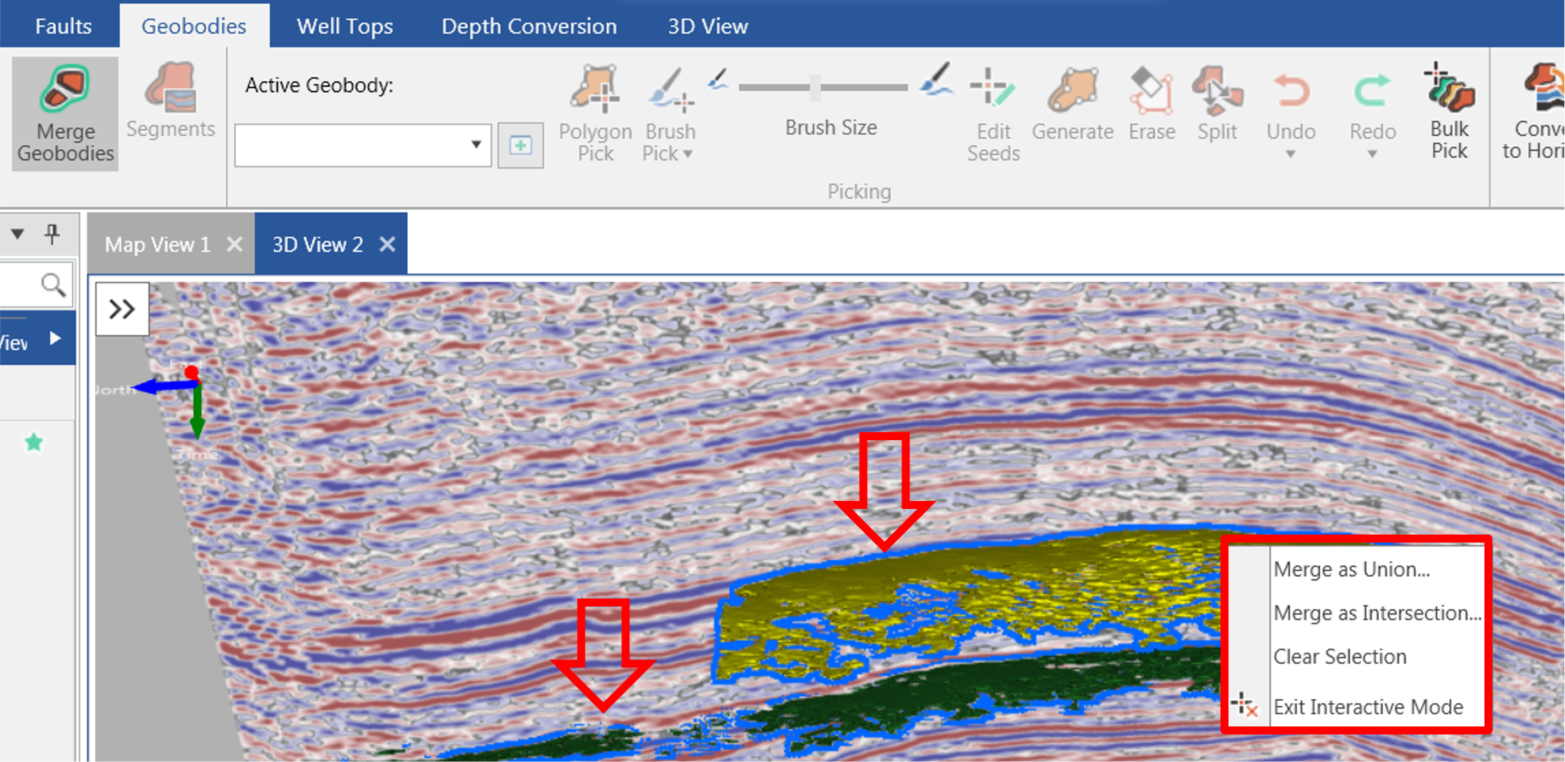
- Choose one of the following options:
– Merge as Union: All the selected geobodies will merge into a new geobody.
– Merge as Intersection: Only the common/overlapping parts of the selected geobodies will create a new one.
– Clear Selection: Clears the selection of all selected geobodies.
– Exit Interactive Mode: Turns off the Merge Geobodies mode. - When you choose Merge as Union, a new window for creating the union geobody will appear. Provide a name, select a color, and click Create.
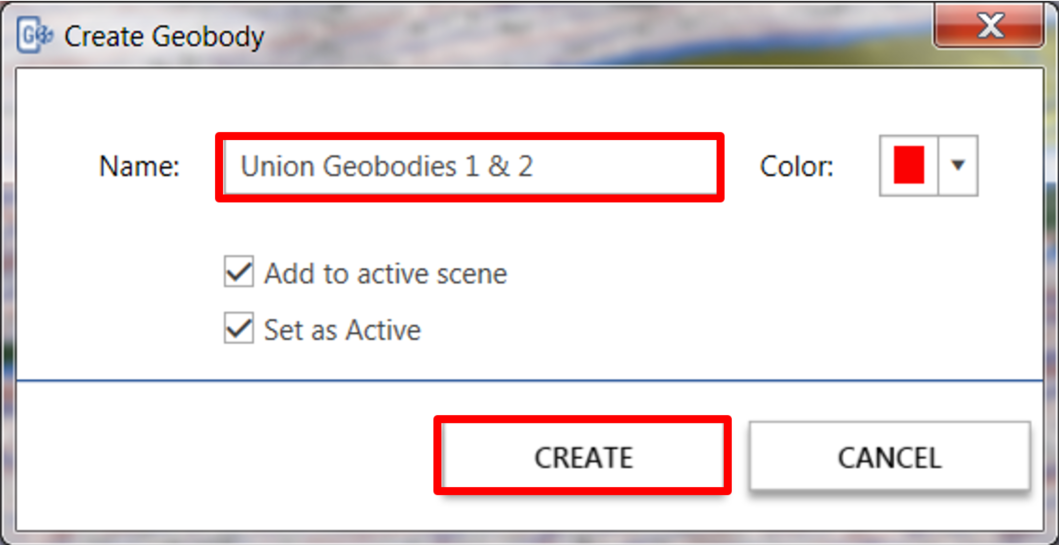
- A new geobody will display in the interpretation (the original geobodies will remain in the interpretation).

- Similarly, when you choose Merge as Intersection, a new window for creating the intersection geobody will appear. Provide a name, select a color, and click Create.
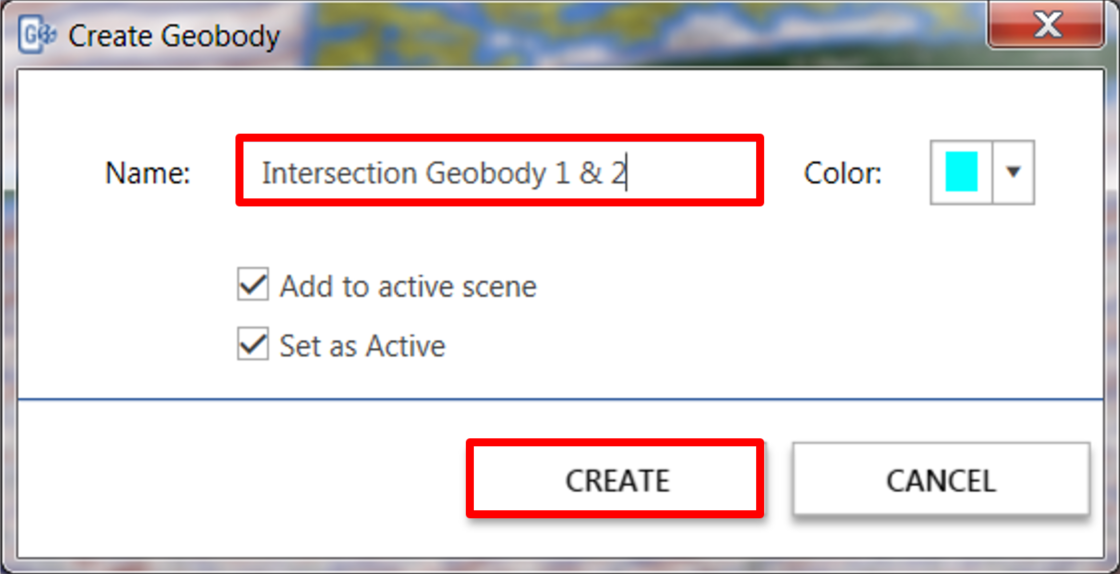
- A new geobody will display in the interpretation.

- If you have geobody 2 in green and geobody 1 in yellow, the intersection geobody 1 & 2 will be displayed in blue.

- To delete parts of the union or intersection geobodies, go to the Geobodies tab and select the Erase tool.

- In the interpretation, click to create a polygon around the area you wish to delete. Double-click to finish the selection.
- You will be prompted to either edit the geobody or cancel the operation.


