
Information can be overwhelming at times, making data analysis and study a tedious process; however, in WellBase, users can make this process easier and more pleasant by customizing the well list, filter list, and toolbox settings to find information faster and more efficiently.
- Activate or create a project in GeoGraphix and open WellBase.

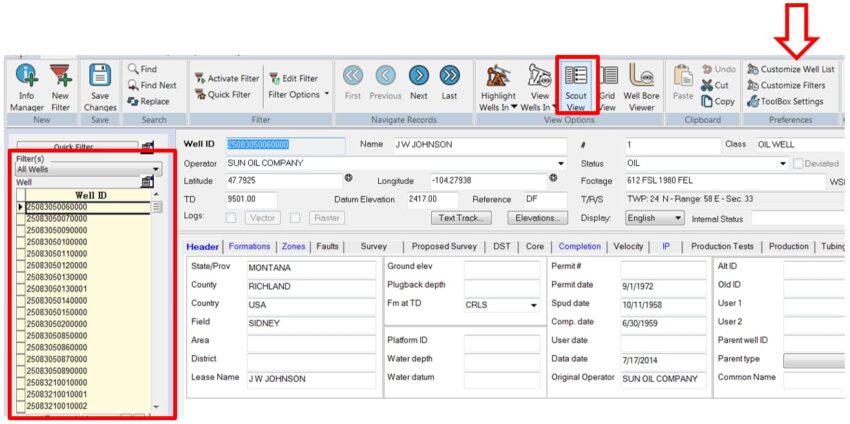
- Go to Home > Preferences > Customize Well List. To customize the well list using the Scout View click the Customize Well List tool to open the well list preferences window.


- In the well list preference window you can modify Select well list field(s) and Sorting. You can display the well list by Well ID, name, or number by selecting any of the options or all of them and clicking OK.


- Customize well list tool can also be accessed by clicking the folder / hand icon on well list upper right corner.

- To tailor the filters list go to Home > Customize Filters. All the available filters (in Global) will show under the Available filters list in the project.


- Select the filters that you want to see by clicking on them; they will turn blue when they are selected. Click the single arrow icon to move the filter(s) name(s) from the available list to the selected filters list, and click OK.

- Click the Filter(s) drop box to see all the selected filters. You can select filter name and the filter will activate and display only the wells inside the filter criteria.


- Go to Home > Preferences > Toolbox Settings> Toolbox Options. All the available tools will display on the left and on the right you will see the Selected tools. Click the single arrow to move a tool from one list to the other and click OK.


- Select the tool that you want to use from the toolbox list and it will open automatically.

