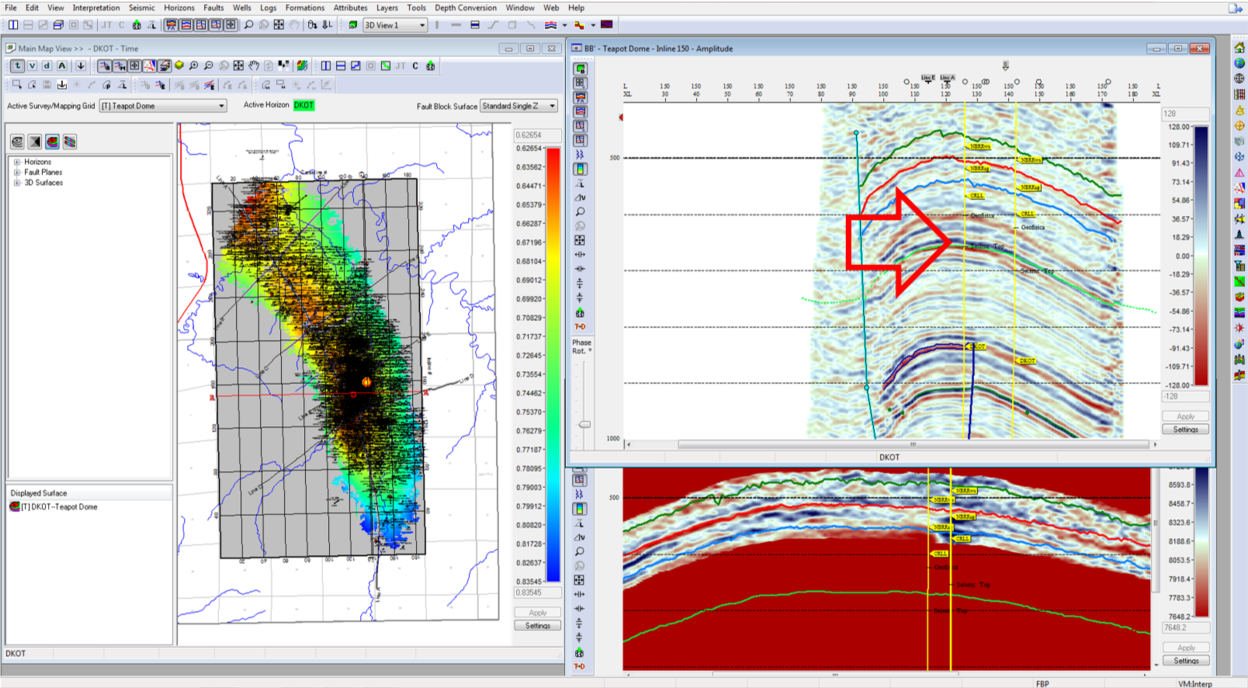
GVERSE Geophysics offers a fully integrated seismic interpretation and analysis module that seamlessly interacts with all GVERSE GeoGraphix modules. Within GVERSE Geophysics, users can generate velocity models through various techniques, one of which involves importing a velocity survey. This survey entails measurements utilized to establish average velocity concerning depth, extracted from an acoustic log or check-shot survey. This blog will comprehensively guide you through the step-by-step process of importing a Velocity Survey (check-shot) into a seismic interpretation using GVERSE Geophysics.
- Activate a project in GeoGraphix.

- Locate and click the GVERSE Geophysics icon on the toolbar.

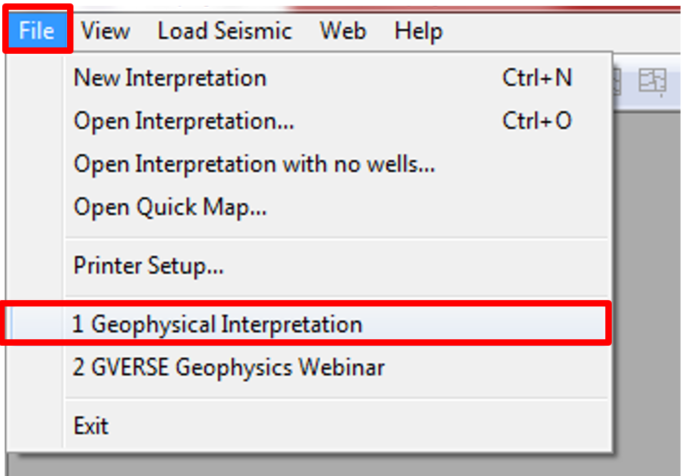
- In GVERSE Geophysics, go to File and choose an existing interpretation or initiate a new one.
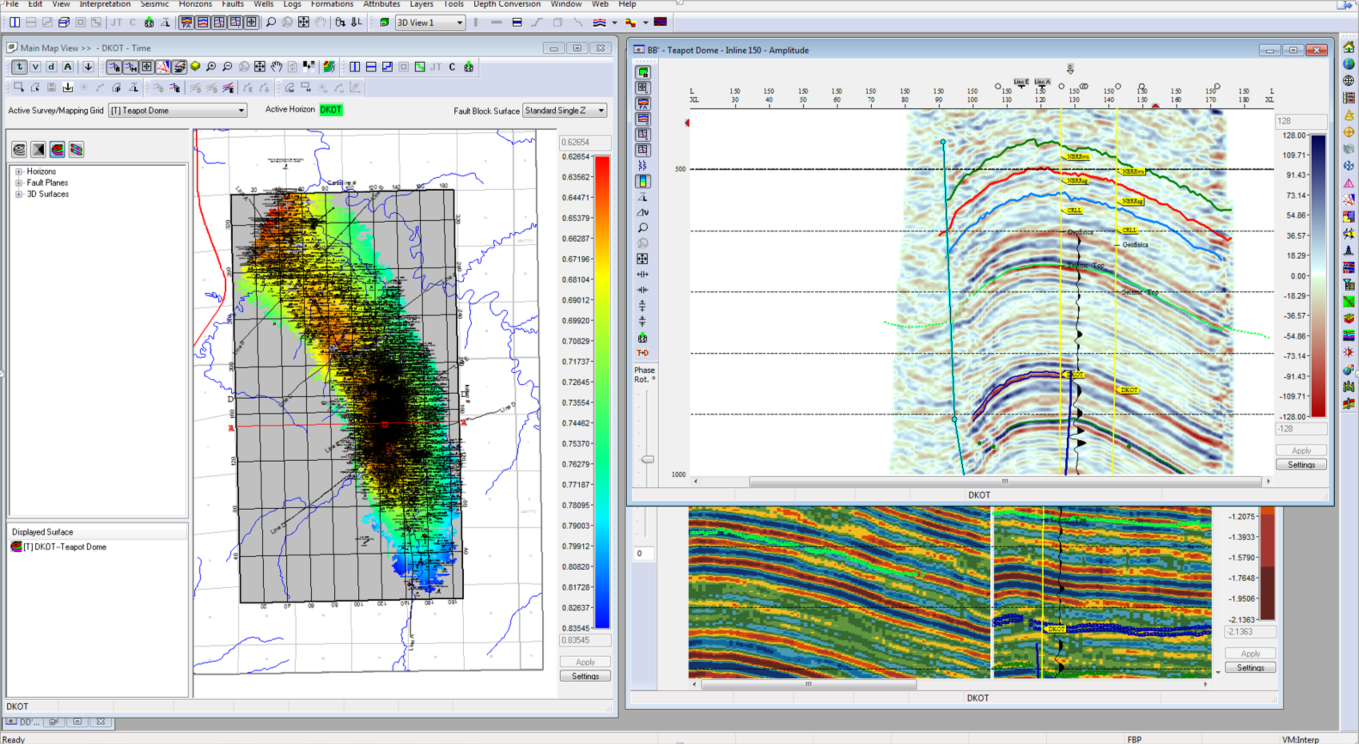
- Upon opening the interpretation, both the 2D and 3D views become accessible.
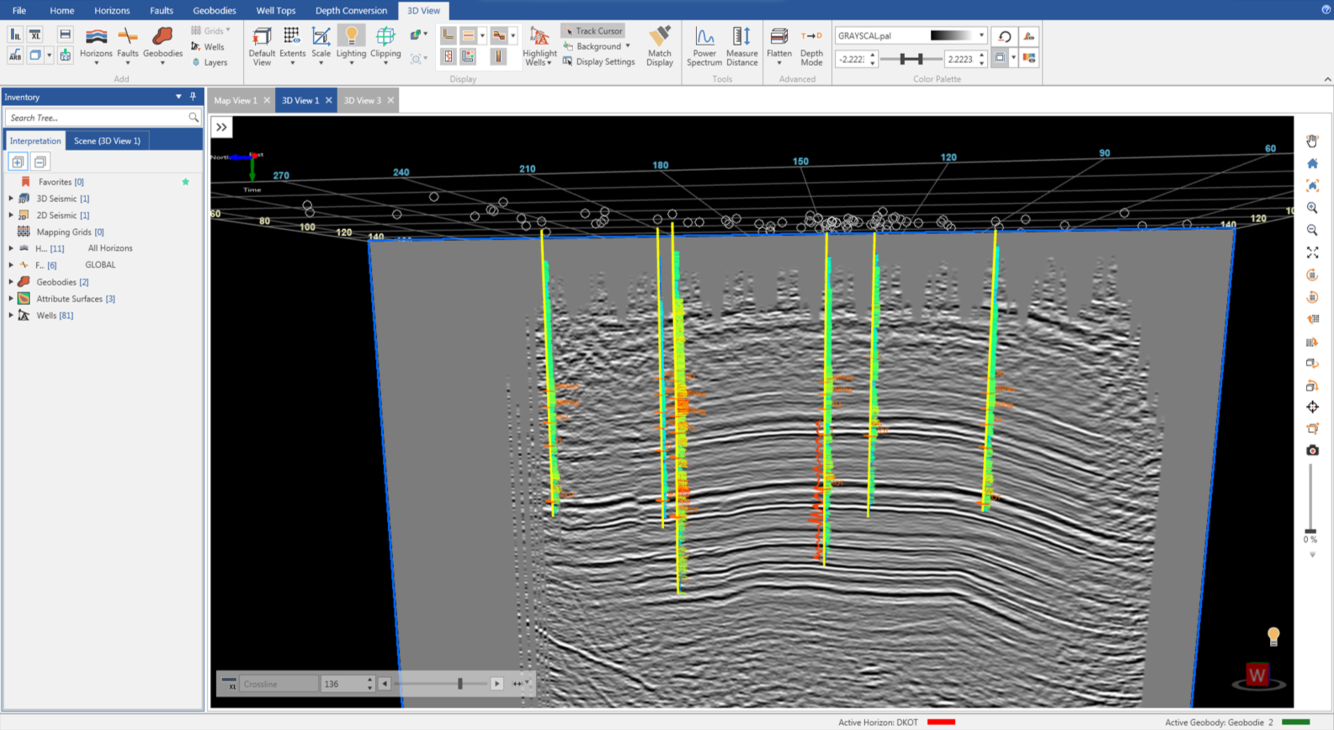
- In 3D view, if the 3D cube isn’t present, proceed to the Home tab and click New 3D View.
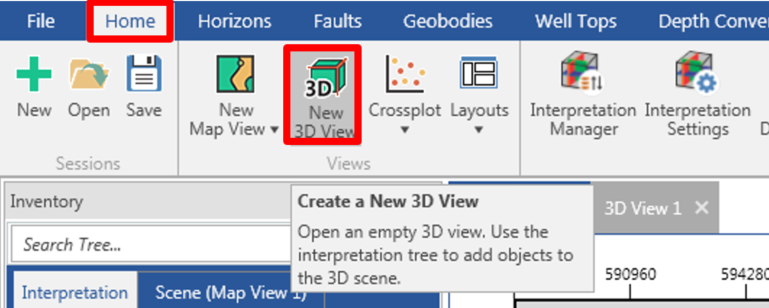
- In the GVERSE Geophysics 2D view, go to the Interpretation tab and select Interpretation Manager.
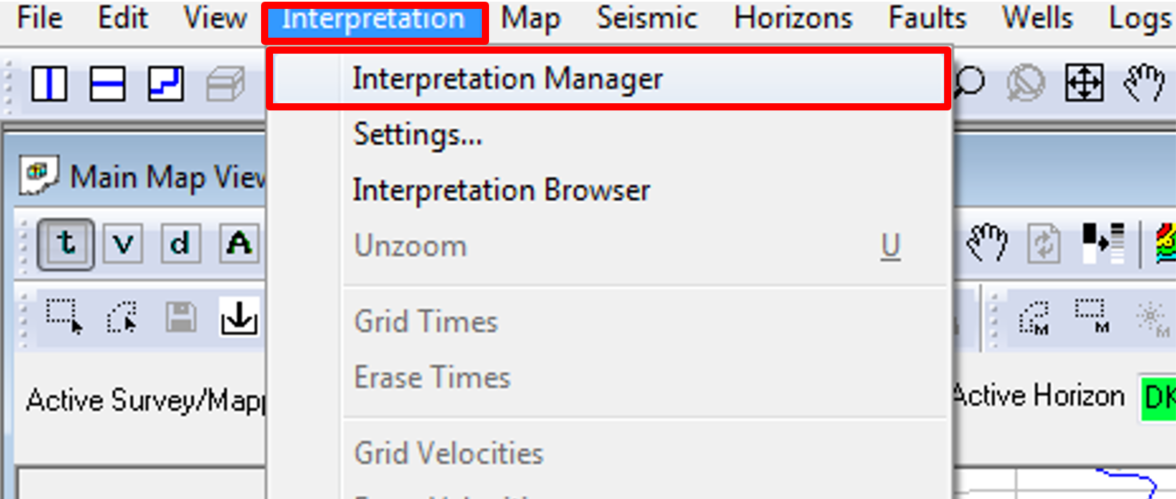
- The Interpretation Manager interface will open.
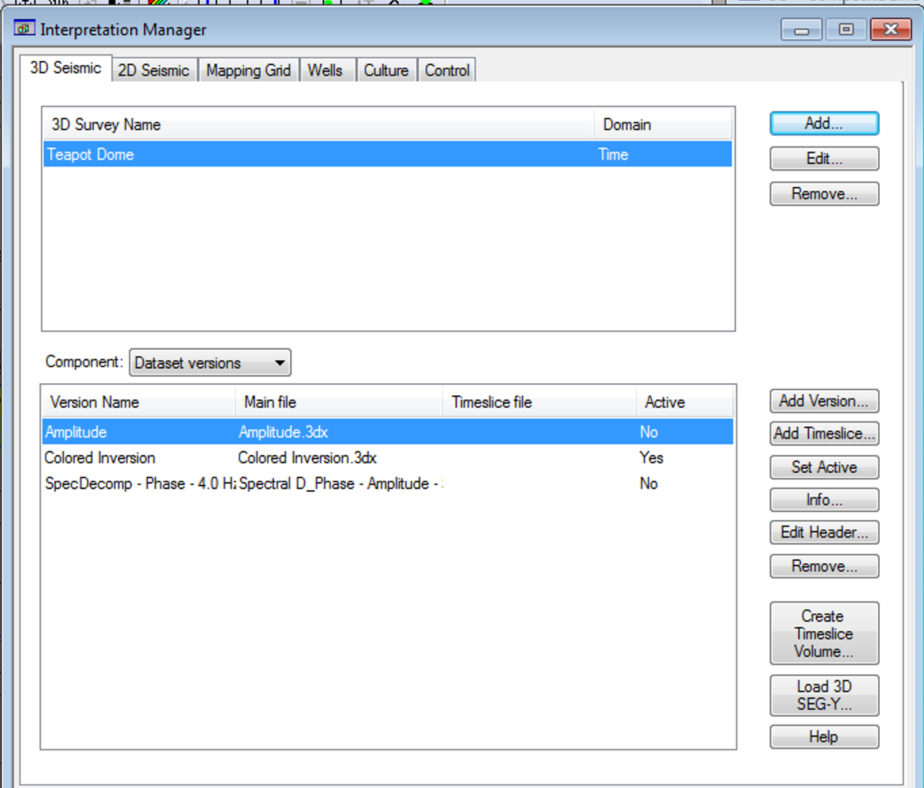
- Go to the Wells tab.
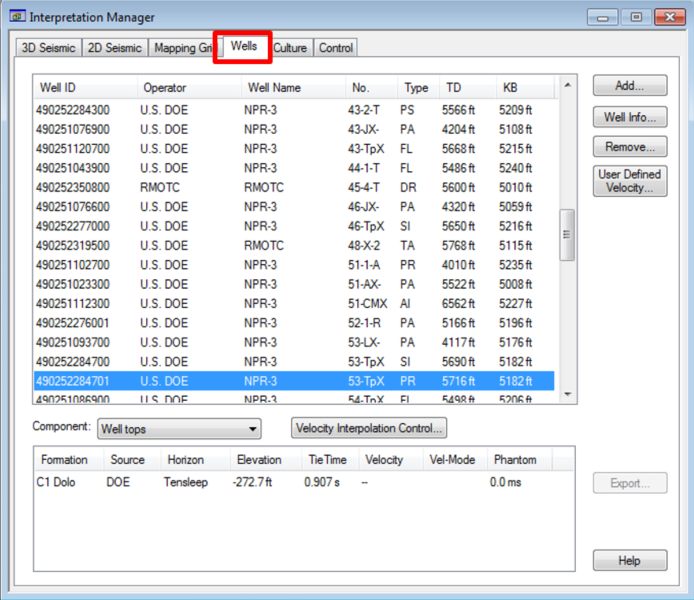
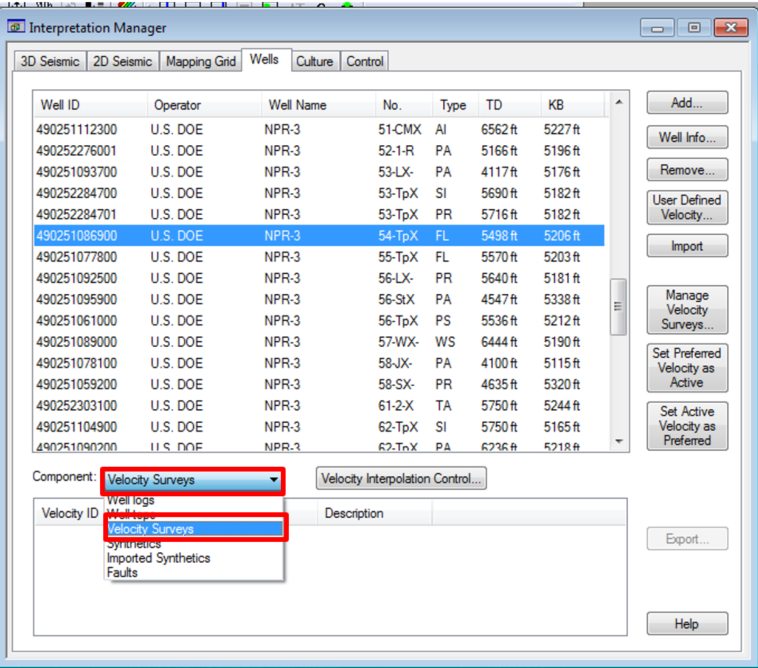
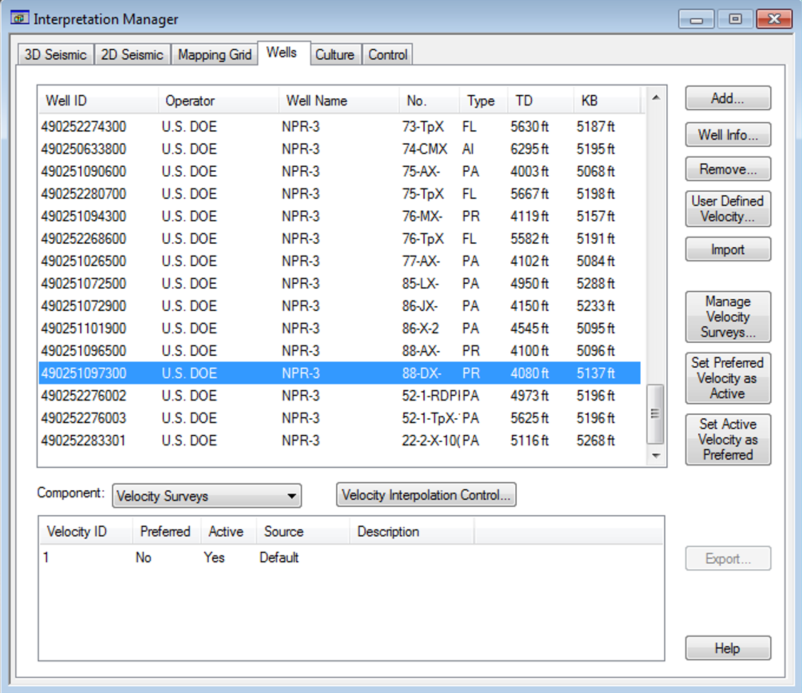
- From the well list, select the well where the velocity survey will be imported. In the Component dropdown menu, opt for Velocity Surveys.
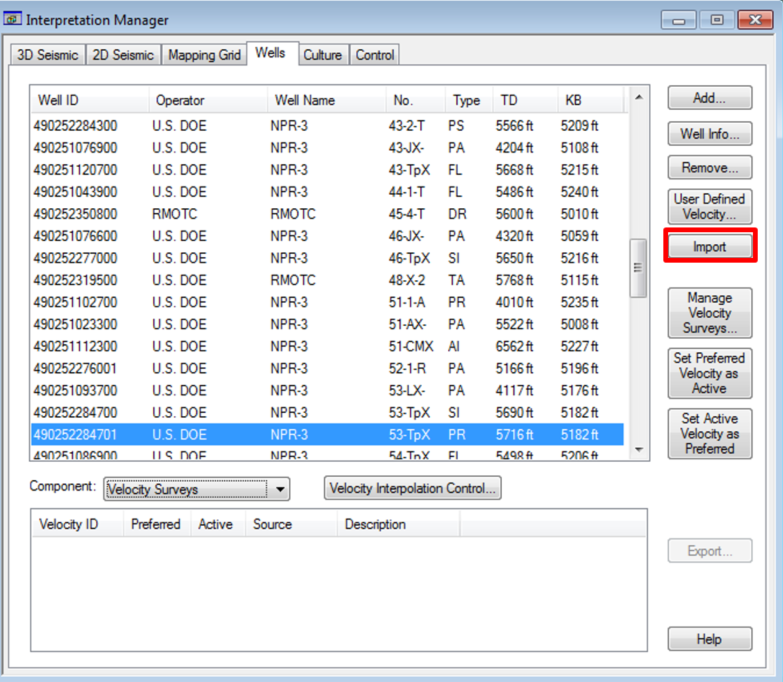
- A menu dedicated to velocity survey options will appear. Click Import.
- The Import Velocity Survey window will open.
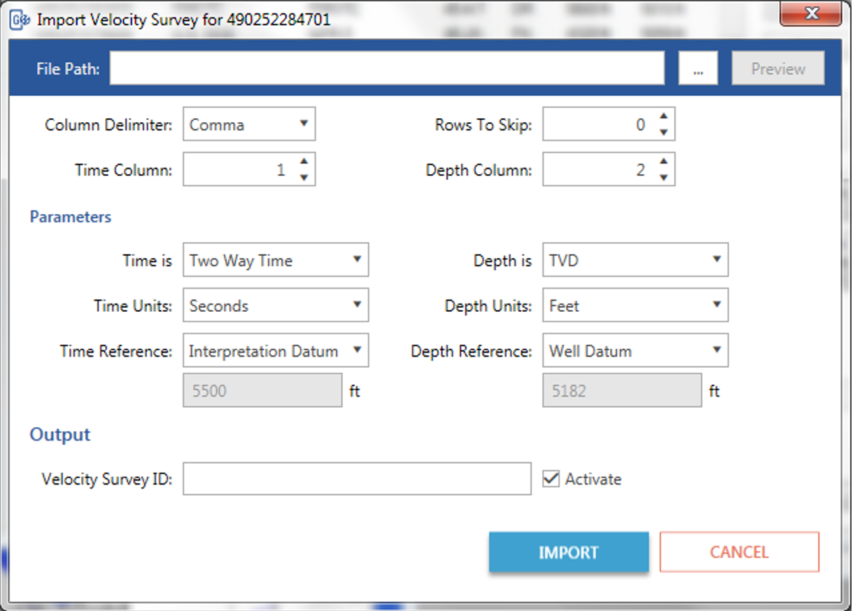
- Click on the ellipsis (‘…’) icon adjacent to the File Path box.

- Locate the directory containing the velocity survey file, select the file, and click Open. Make sure that the velocity survey file is saved as a comma delimited file.

- The Velocity Survey file data will automatically fill up all the parameters.
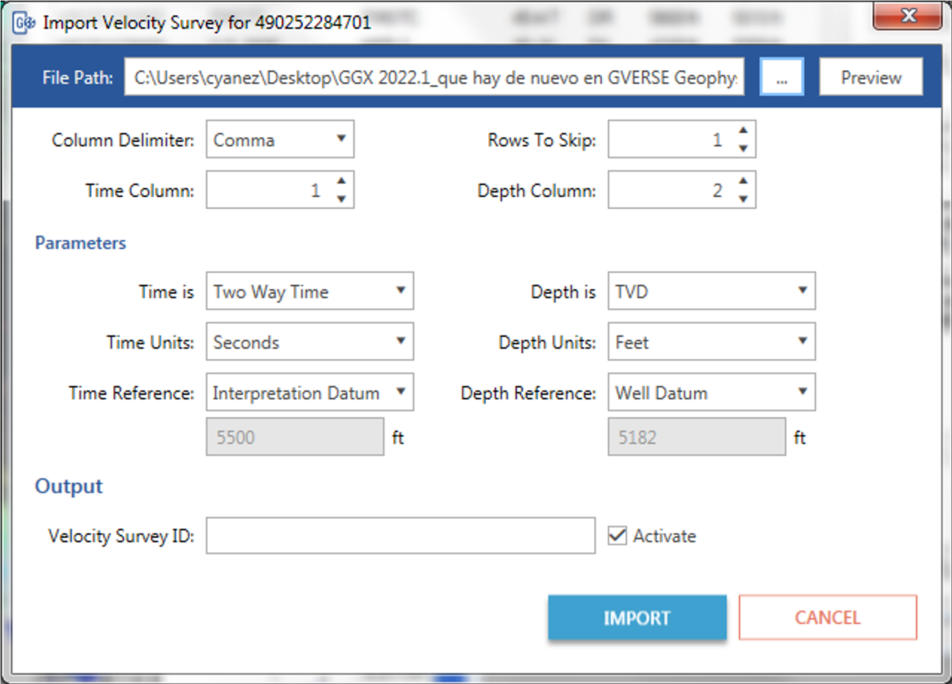
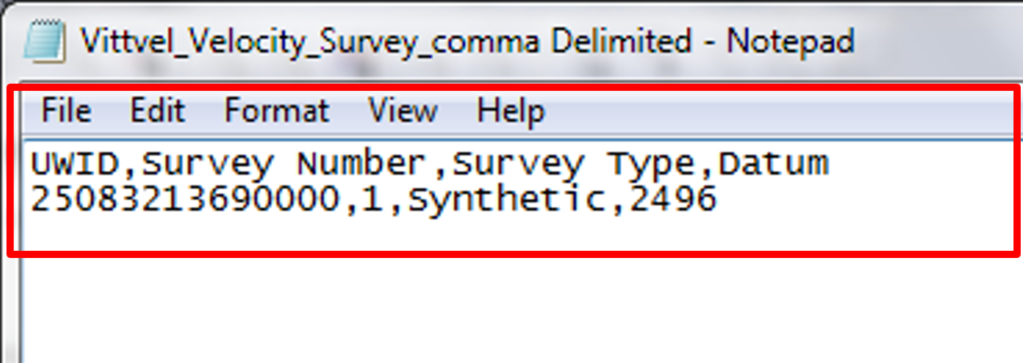
- Click Preview to obtain a preview of the file contents.

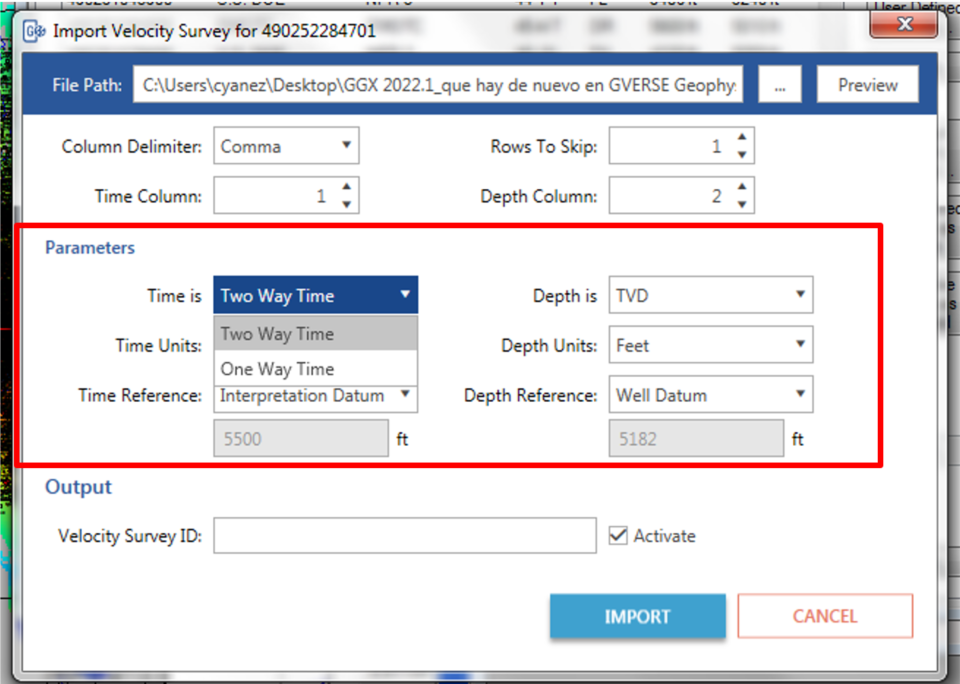
- If necessary, readjust the Parameters: Time, Depth, Depth Units, Depth Reference, Time Units, and Time References.
- In the Output section, assign a name for the Velocity Survey ID. Checkmark Activate if you need the velocity survey to remain active. Conclude by clicking Import.
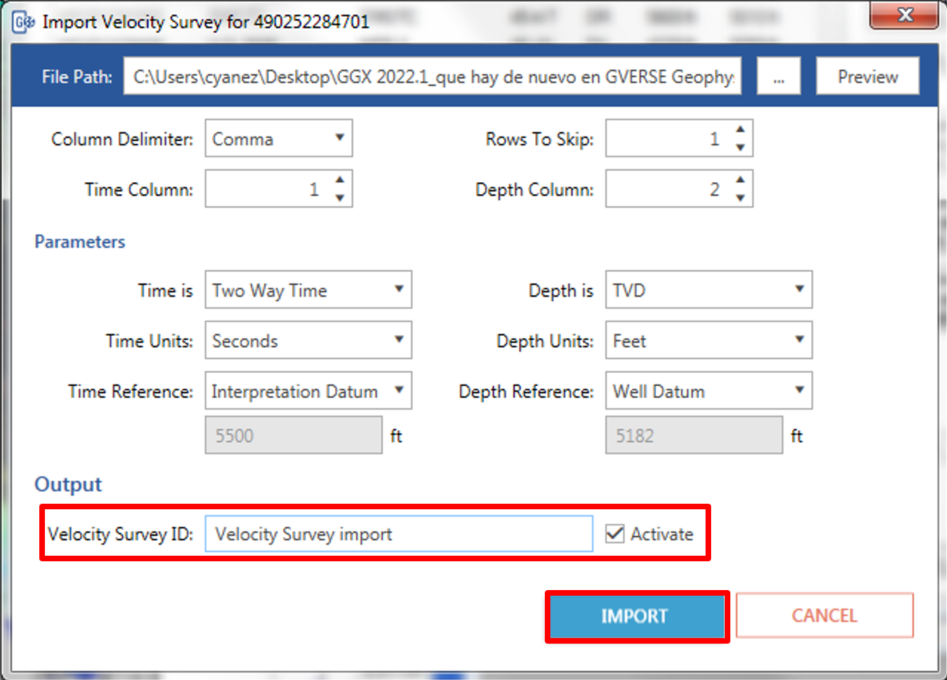
- The velocity survey will be successfully imported into the project and will appear as an active element.
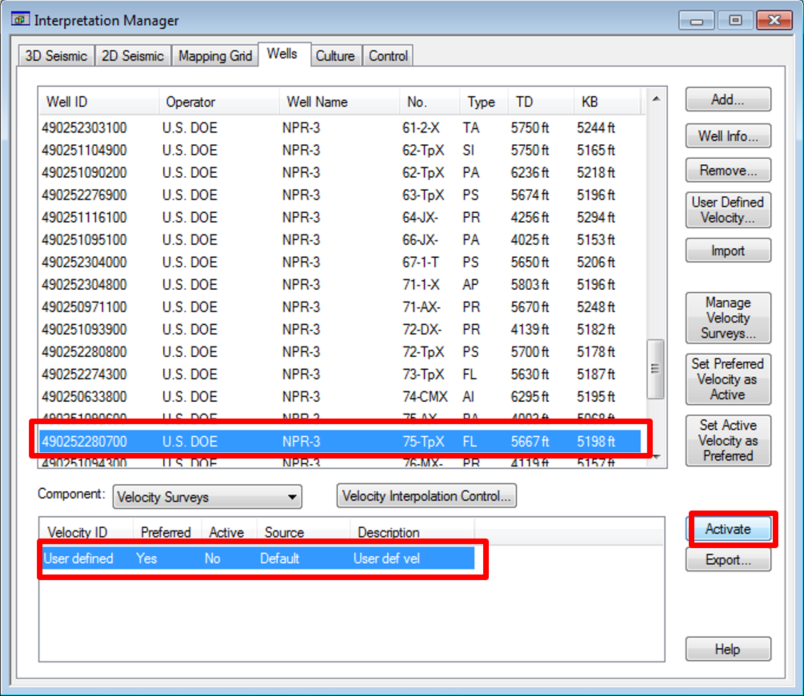
- Designate the imported velocity survey as active for the respective well. Highlight the well within the component box and click Activate.
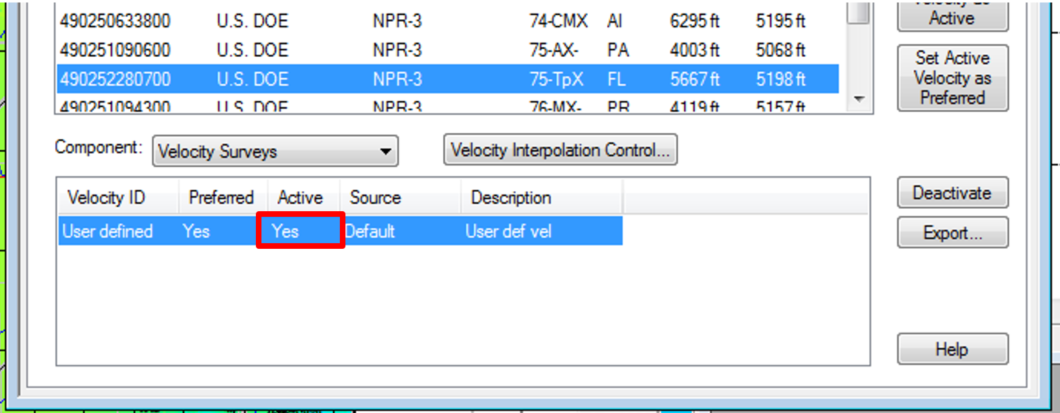
- Confirm that the Active column for the selected well displays Yes.
- Close the Interpretation Manager window. The wellbore will be distinctly visible on the seismic data.
