The interval tool can be used to add / select intervals such as gross, net, pay, or a user defined in a cross section in GVERSE Geomodeling and XSection or in a petrophysical analysis in GVERSE Petrophysics, which can then be displayed in ZoneManager and used to create a layer if necessary. The following steps will demonstrate how to use the Interval Data selected in GVERSE Geomodeling and XSection in ZoneManager:
- Activate a GeoGraphix project.
Interval Data in GVERSE Geomodeling
- Click on GVERSE Geomodeling icon on the modules tool bar, select the interpretation, and click Open.
- Open an existing Cross Section or create a new one. If the intervals are already picked in the cross section, they will display as color boxes.
- If the cross section does not have intervals, click on Add Interval Data icon and select interval from the list (to create a new one click the *).
- Left click to select interval in each well (a dash box will show the interval on the well).
- To change the color, font, or modify the interval, right click and select Interval Data Display Options. Make your desired changes and click OK.
- After picking all the intervals data in the cross section in GVERSE Geomodeling, open ZoneManager by clicking its icon on the modules tool bar. Select the Zone or create a Zone and click The Zone will open and display all the attributes on it.
- In ZoneManager, go to Tools and click Compute Interval Data.
- In the Compute Interval Data window select the data available, click the single “>” and the data will move to the Selected box. Click Next.
- In the ZoneManager Compute Options (Pay) window, select the zone(s) where the data is going to be stored and click Next. Repeat this process for each attribute, once all attributes are added, click Finish. The interval data will display as attributes in the zone.
Interval Data in XSection
- Click on XSection Icon on the modules tool bar, select the cross section or create a new one, and click The cross section will open displaying all the picked interval data.
- To create a new interval click on the Define New Interval Data icon on the interval data tool bar. The new interval data window will appear, add a name and click OK.
- Click on Add Interval icon, select the interval from the drop list and pick the intervals on the cross section.
- After picking the intervals, click on the disk icon to save the intervals in ZoneManager. The Save Interval Changes windows will appear, select Save to ZoneManager and click Save.
- ZoneManager Save Options windows will appear. Select the zone in Zone Manager (the well zone is the default zone in ZoneManager). Click Next.
- After selecting all the interval data and the zone, click Finish.
- Open ZoneManager and select the Zone where you saved the data (in this example Well) and click OK.
- Click on Tools > Calculate Zone XYZ Data. The Gross and Porosity values will appear on the Attribute columns.
How to Create an Interval Data Layer in ZoneManager:
- Go to Layer > Create an IsoMap Layer > Zone Name > Attribute Name > Layer Name > OK.
- The IsoMap build surface window will appear where you can adjust parameters, and click Finish when done.
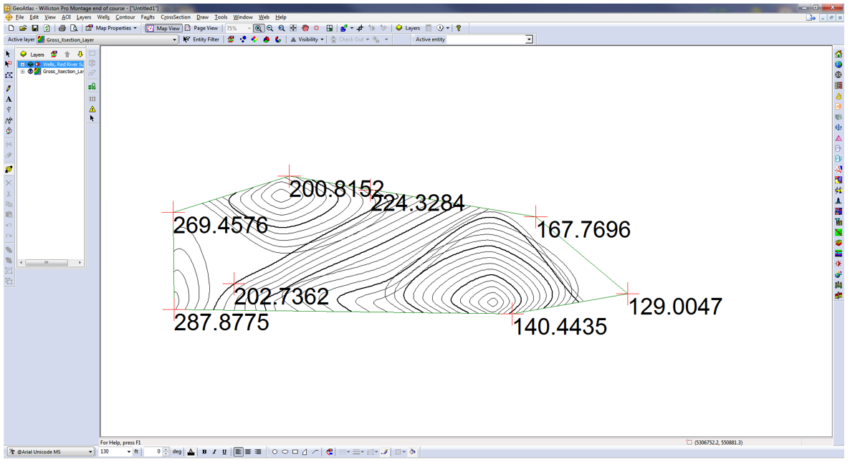
- Open GeoAtlas and activate the Gross layer that you just created in ZoneManager.


